The Legend of Zelda: A Link to the Past - Maps
The Death Mountain Descent Trick is a fascinating trick that allows you to get off of Death Mountain without having to get the Moon Pearl. You can walk around the Dark World as Bunny Link. This trick may even lead on to bigger and better tricks. The ultimae goal is to beat the game without getting the Moon Pearl.
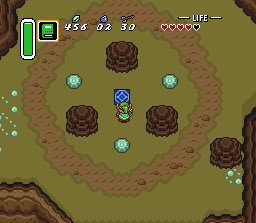
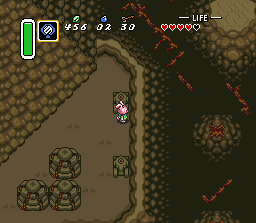
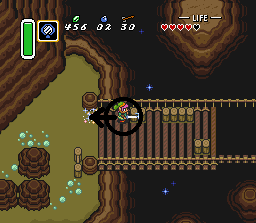
First, you must be on Death Mountain in Hyrule, not the Dark World. This is when you FIRST get there, and you do not have the Moon Pearl or have not beaten Agahnim the second or even the first time. While you are on Death Mountain, notice the bridge. If you haven't been to the bridge before, it's all the way to the right from where the old man's cave is (the one where he gives you life if you talk to him). Go up the ladder, then where all the large boulders stuck to the ground are, go all the way to the right. You will see a broken ladder.
Now, go back up Death Mountain and to the warp portal where you go to the Dark World when you step on it.
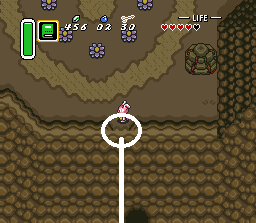
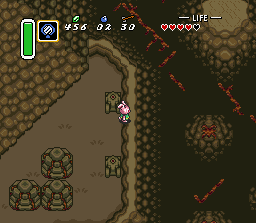
Once you are a bunny on Death Mountain, you can either go back down using the ladder, or use another but quick method to go down (which is you go directly down when you change, then you'll see a crack in the ledge.
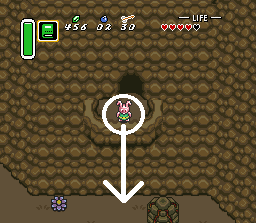
Jump down from it, then jump down from the platform you landed on.). It doesn't matter which way you go, just go back to where the bridge is. When you get to the area where the bridge is supposed to be, there won't be a bridge there, just 2 "statues". Now here is where you get to the big part of this glitch. I will be doing these in steps to not make it that confusing...
Now we Begin:
1. Go up to the section right under the top statue.
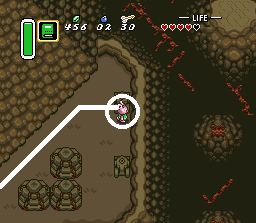
2. Look to the right side of the screen, then use the Magic Mirror to teleport.
3. While looking to the right side of the screen, move ONE PIXEL!
4. Wait until you stop flashing and you are teleported back.
If you do not accomplish Step 3 correctly, you will be teleported back. Move back to step 2 again and try over. It's not really that hard, though.
5. Once you are teleported back, and if you did it correctly, you will notice that you are one pixel closer to the edge. DO NOT MOVE! Instead, teleport back.
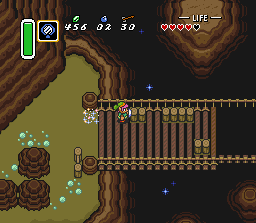
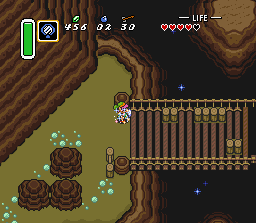
6. Once you teleported back, move to the right until you are stopped by the post on the bridge.
Take out your sword then gain power into it (hold the Sword Button). While holding the Sword Button, SLOWLY move toward the portal until you are teleported back.
7. If you did it correctly, and if you went to the portal as slow as you can, you will be teleported back, but will stand on the ledge without being teleported back into the Light World.
If you did not complete Step 6 correctly (which means you went too fast), then you will be teleported to the Dark World then teleported back to the Light World. You must start back at Step 2 over again.
8. Once you are on the ledge, DO NOT MOVE LEFT OR TO ANY OTHER DIRECTION! Doing this will cause a failure and you will have to do Steps 2 - 6 again. When you are on the ledge, move to the right and you will fall into the black area with all the lava streams moving around.
Move all the way downwards and then when you see a large section of a ledge on the bottom of the screen, move down the left-side of it and off the screen. If you do this correctly, you will be on a large ledge. Jump down and you have completed the Death Mountain Descent. Why do you want to do this glitch? Well, if you jump down off the last ledge in this glitch, you will notice that you are now on the grounds of the Dark World. Because of this, you are able to explore almost the entire regions of the Dark World WITHOUT having to beat Agahnim nor do you need all the Pendants. Cool, huh? If Dark World seems glitchy, just teleport to Light World, then go back into Dark World, and everything will be fine!
